
Pruning
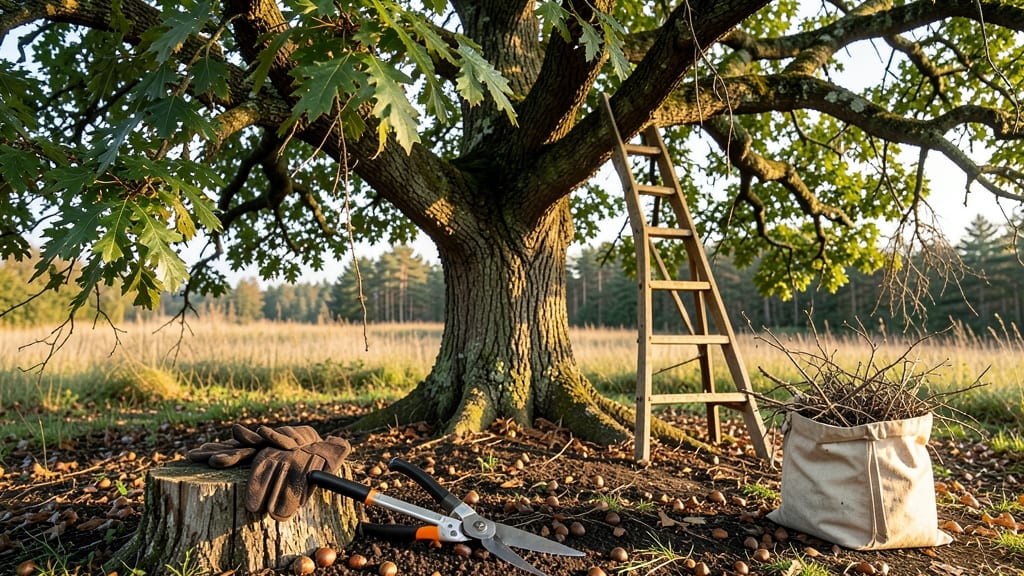
A tree branches cutter isn’t just a tool—it’s your ticket to cleaner cuts and healthier trees. 🌳 I’ve spent years wrestling with stubborn branches, and the right cutter makes all the difference between a messy hack and a precision prune.
Whether you’re trimming deadwood or shaping a young tree, the right tool saves time, reduces stress, and keeps your yard looking sharp.
Start with the basics: bypass pruners for branches under ½-inch, loppers for ½- to 2-inch branches, and a pole saw or chainsaw for anything thicker. Safety first—always wear gloves, eye protection, and avoid cutting near power lines.
A sharp blade is non-negotiable; dull tools tear bark and invite disease. Pro tip: Cut just outside the branch collar (that little ring at the base) for the cleanest heal.
Timing matters too. Prune in late winter or early spring before new growth starts, or right after flowering if you’re shaping. Dead or diseased branches? Remove them anytime. You’ll see the difference immediately—neater cuts mean faster healing, fewer pests, and a tree that thrives instead of fights back.
Even a small investment in the right tool pays off in years of easier maintenance.
Stuck on a stubborn branch? Try a ratcheting cutter for extra leverage or a bow saw for larger limbs. If your cuts keep looking jagged, your blade’s dull—sharpen it or replace it.
And remember: patience beats force. A clean cut today means a stronger tree tomorrow. Ready to upgrade your pruning game?
📚 In This Guide
- What you need
- Instructions
- Tips and common mistakes
- Wrapping up and next steps
What you need
- ● Tree Branches Cutter: Hand pruners (bypass or anvil) – 1 pair (for branches up to ¾ inch thick)
- ● Loppers – 1 pair (for branches 1–2 inches thick)
- ● Pruning saw – 1 (for branches 2+ inches thick; bow saw or folding pruning saw recommended)
- ● Safety Gear: Work gloves (cut-resistant) – 1 pair
- ● Safety goggles – 1 pair
- ● Long sleeves & sturdy boots – 1 set
- ● Cleanup Supplies: Heavy-duty trash bags – 2–3
- ○ Rake or leaf blower – 1 (optional for debris)
- ● Ladder or extension pole (for high branches) – 1
- ● Tree wound dressing (for large cuts) – 1 tube
- ● Sharpener (for pruners/saws) – 1
- ● Disinfectant spray (to clean tools between cuts) – 1 bottle
Precision pruning with a tree branches cutter: clean, safe cuts
Mastering clean cuts transforms pruning from guesswork to a controlled, healthy process—here's how to use your cutter like a pro.
✂️ Step 1: Select the Right Cutting Technique for the Branch
First, identify the branch diameter and angle. For branches under 2 inches thick, standard cutters work perfectly. Look for the branch collar—the swollen area where the branch meets the trunk—this is your guide. Never cut flush with the trunk; you'll damage the tree's natural healing tissue.
For thicker branches (2-4 inches), use a three-cut method: make the first cut on the underside about 12-18 inches from the trunk, then the second cut on top to create a hinge. The third cut removes the remaining wood. This prevents bark from tearing and reduces weight on the branch as you cut.
🌿 Step 2: Position and Align the Cutter for Clean Angles
Hold the cutter so the blade meets the branch at a 45-degree angle, sloping away from the trunk. This angle directs water runoff and prevents rot from pooling at the cut. For branches over 4 inches thick, use a pruning saw—cutters risk pinching and damaging the blade.
Position the cutter 1-2 inches outside the branch collar. You'll see a slight ridge where the branch meets the trunk—this is your target. Align the cutter so the blade clears this ridge entirely. A clean cut here promotes faster healing and prevents disease entry points.
✂️ Step 3: Apply Firm, Controlled Pressure for Precision
Grip the cutter handles firmly and apply steady pressure toward the branch collar, not the trunk. Avoid twisting the cutter—this strains the blade and can cause uneven cuts. For stubborn branches, use your body weight to leverage the cutter without jerking.
Listen for the clean snap of the blade through the wood. If you hear a grinding sound, you're pressing too hard or the blade is dull. Step back and reassess the angle—sometimes a slight adjustment makes all the difference. Sharp blades make clean cuts; dull blades tear and damage the tree.
🌱 Step 4: Inspect and Finish the Cut for Healing
After cutting, examine the wound. The cut should be smooth, with no jagged edges or torn bark. If the bark is stripped, use a pruning sealant (optional for most trees) to protect the exposed wood. For large cuts, leave the branch stub—it contains healing compounds that help the tree recover.
Clean your cutter immediately after use. Wipe the blade with a damp cloth to remove sap, then apply a light coat of mineral oil to prevent rust. Store it in a dry place—rusted blades dull quickly and can introduce bacteria to fresh cuts.
⏰ Step 5: Monitor the Tree’s Recovery
Watch the cut area over the next 2-4 weeks. Healthy tissue should appear as a smooth, calloused layer over the wound. Avoid pruning nearby branches for at least 6 months to reduce stress on the tree. If you see oozing sap, mold, or wilting leaves, the cut may have damaged the tree's vascular system—consult a professional.
For best results, prune during the dormant season (late fall to early spring). This minimizes stress on the tree and allows wounds to heal before the growing season. Over-pruning in one session weakens the tree—never remove more than 25% of the canopy at once.
Tips & tricks for perfect tree pruning with a branches cutter
These precision-focused techniques will help you achieve professional-quality cuts that promote tree health and longevity.
Branch Collar Awareness: The branch collar is your most important guide—it's the tree's natural healing tissue. When making cuts for branches under 2 inches, position your cutter 1-2 inches outside this ridge. I've seen so many pruning mistakes where people cut flush with the trunk, which completely disrupts the tree's ability to seal the wound. Think of it like how your skin heals best when you don't cut into the scar tissue.
Three-Cut Method for Thicker Branches: For branches between 2-4 inches thick, the three-cut technique is absolutely essential. Start your first cut on the underside about 12-18 inches from the trunk—this creates a hinge that prevents bark tearing. The second cut on top creates a controlled break point, and the final cut removes the remaining wood. I've ruined several cuts by trying to do it in one go, which always results in messy tears. This method also reduces the weight on the branch as you cut, making it safer for both you and the tree.
Blade Maintenance Matters: A sharp blade is non-negotiable for clean cuts. After each use, wipe your cutter's blade with a damp cloth to remove sap, then apply a light coat of mineral oil. I've noticed that many people skip this step, and within a few uses, their cutter becomes nearly useless. Store your cutter in a dry place—rust develops quickly in humid conditions and can introduce bacteria to fresh cuts. Remember, a dull blade doesn't just make cutting harder; it tears the bark and damages the tree's vascular system.
Seasonal Timing Insight: While the instructions mention dormant season pruning, I've found that early spring (just before buds swell) is actually ideal for many tree species. This timing allows you to see the branch structure clearly while still minimizing stress on the tree. Just be sure to avoid pruning when the tree is flowering or producing fruit, as this can reduce next year's yield. The key is finding that balance between visibility and minimal stress.
Pro Tips for Tree Branches Cutter
- These precision-focused techniques will help you achieve professional-quality cuts that promote tree health and longevity.
- Branch Collar Awareness: The branch collar is your most important guide—it's the tree's natural healing tissue.
- Three-Cut Method for Thicker Branches: For branches between 2-4 inches thick, the three-cut technique is absolutely essential.
Frequently asked questions
Got questions about using a tree branches cutter?
You’re not alone—pruning can feel tricky! Below, we’ve answered the most common questions to help you tackle your project with confidence. Whether you’re a beginner or just need a quick refresher, these FAQs cover safety, timing, and troubleshooting like a pro.
What’s the best time of year to prune trees?
The ideal time depends on your tree type! For most deciduous trees, late winter or early spring (before buds swell) is best—this promotes healthy growth. Evergreens can be pruned in early spring or late fall. Avoid heavy pruning in late summer or fall, as it stresses the tree. Pro tip: If you’re unsure, prune during dormancy for minimal risk.
How do I stay safe while using a tree branches cutter?
Safety first! Always wear gloves, safety goggles, and sturdy footwear. Avoid working alone, especially on tall trees—use a ladder or hire a pro if branches are high. Face away from the cut direction, and never stand directly under a branch you’re removing. If the cutter jams, stop and reassess before forcing it.
Can I use a tree branches cutter for all types of branches?
Most cutters handle branches up to 2–3 inches in diameter, but check your model’s specs. Thicker branches may require a pole saw or chainsaw. For delicate branches (like fruit trees), opt for bypass pruners to avoid crushing. Always match the tool to the job—no shortcuts!
Why is my tree branches cutter getting dull so quickly?
Dull blades happen fast with frequent use, especially on hardwood branches. Sharpen regularly with a file or replace blades if they’re nicked. Avoid cutting dry, frozen, or diseased branches, as they wear blades faster. Store your cutter in a dry place to prevent rust. Pro tip: A drop of oil on the pivot point keeps it smooth!
How do I know if I’ve pruned correctly?
Good pruning leaves the tree with a balanced shape and healthy structure. Look for cuts just outside the branch collar (the swollen area where the branch meets the trunk) and avoid leaving stubs. If you see excessive sap, bark tearing, or uneven growth afterward, you may have pruned too aggressively. When in doubt, less is more!
Wrapping up and next steps
Mastering the art of precision pruning with a tree branches cutter transforms your yard into a well-maintained, healthy space—without the guesswork. 🌿 Whether you’re trimming overgrown limbs or shaping young trees, the right tools and techniques make all the difference.
Now that you’re equipped with the knowledge, grab your cutter, roll up your sleeves, and get pruning!
Ready to take it further? Explore advanced pruning tips or invest in a high-quality cutter for long-term results. Your trees—and your neighbors—will thank you! 🌳✨