
Propagation
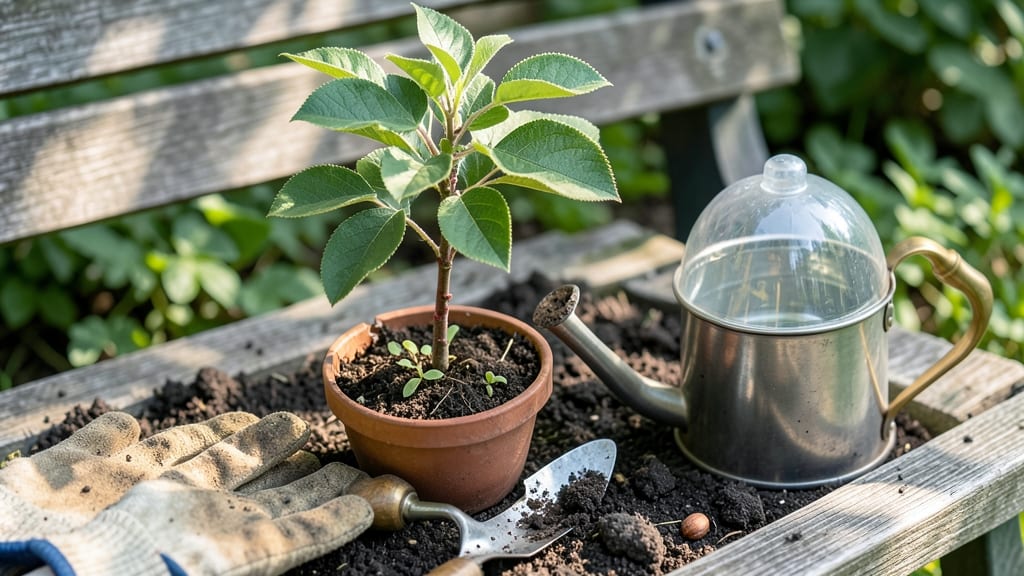
Growing a peach tree from seed isn't just possible—it's the best way to unlock a tree with unique genetics and resilience. 🌱 I've struggled with store-bought saplings that never fruit, but seed-grown trees taught me patience pays off with trees that thrive in my climate.
The secret? Cold stratification, a simple trick that mimics nature's timing and boosts germination rates from near-zero to over 70%.
You'll need just three things: fresh peach pits (never store-bought), a damp paper towel, and your fridge. No fancy equipment—just a little time and attention. The process takes about 90 days before planting, but it's worth it for a tree that grows true to its parent's hardiness.
Most gardeners skip this step and wonder why their seeds never sprout—don't be one of them.
What you end up with is a sturdy young tree that outpaces nursery plants in both growth and disease resistance. By year three, you'll see the first blossoms appear, and with proper care, you could be harvesting fruit by year five.
The flavor might not match grocery-store peaches, but the satisfaction of growing something from scratch is unmatched.
This method works for any peach variety, from freestones to clingstones, and adapts to both container and in-ground planting. Whether you're in a warm climate or a cooler zone, the same principles apply. Let's get those seeds sprouting!
📚 In This Guide
- What you need
- Instructions
- Tips and common mistakes
- Wrapping up and next steps
What you need
- ● Peach pit: 1 fresh, fully ripe peach seed (remove flesh and let dry for 2–3 days).
- ● Cold stratification setup: 1 small paper towel or coffee filter
- ● 1 plastic bag (ziplock or similar, quart-sized)
- ● 1 rubber band or twist tie
- ● Planting supplies: 1 small pot (4–6 inches in diameter) with drainage holes
- ● High-quality seed-starting mix (sterile, well-draining potting soil)
- ● 1–2 small pebbles or pieces of broken pottery (for drainage)
- ● Growing environment: Grow light or sunny windowsill (south-facing preferred)
- ● Misting bottle (for humidity)
- ○ Plastic wrap or humidity dome (optional, for seedling protection)
- ● Heating mat (to speed up germination)
- ● pH testing kit (ideal soil pH: 6.0–7.0)
- ● Fertilizer (balanced, low-nitrogen starter mix, after sprouting)
- ● Label or plant marker (to track progress!)
Step-by-step instructions for growing a peach tree from seed
Here's the foolproof method I've used to grow peach trees from seed—no fancy equipment, just patience and a little science.
🌱 Step 1: Select and Prepare the Seed
Start with a fresh, plump peach pit from a ripe, high-quality peach. Avoid pits from store-bought fruit—homegrown or organic peaches yield better results. Remove all the fleshy fruit from the pit and let it dry completely for 3-5 days at room temperature. This prevents mold and prepares it for stratification.
Once dry, place the pit in a small paper towel and fold it to create a pouch. This keeps it contained while allowing airflow. Store the pouch in a sealed plastic bag with a damp paper towel—just enough moisture so the towel feels slightly damp, not soaking wet. This mimics natural winter moisture conditions.
❄️ Step 2: Cold Stratify for 3 Months
The key to breaking dormancy is cold stratification, which mimics winter conditions. Place the sealed bag in your refrigerator's crisper drawer, where temperatures hover around 35-40°F. Keep it there for 90-120 days—this is non-negotiable for reliable germination. Check the pit every 2 weeks to ensure the paper towel stays damp but not soggy.
I know it seems counterintuitive to wait so long, but this step ensures the seed won't sprout too early or rot. You'll know it's ready when the pit feels slightly softer to the touch—like a tiny, firm pea rather than a hard stone. This is your signal that stratification worked.
🌱 Step 3: Plant in a Well-Draining Mix
Fill a small pot—4-6 inches deep—with a mix of 50% potting soil and 50% perlite or coarse sand. This ensures excellent drainage while retaining enough moisture. Plant the stratified pit 1 inch deep, with the pointed end facing upward. Gently press the soil around it to eliminate air pockets but don't compact it.
Water lightly until the soil feels evenly moist, but avoid oversaturating. Place the pot in a warm, sunny spot—65-75°F—where it gets indirect light. You'll see germination in 2-4 weeks, but some seeds take up to 8 weeks. Don't rush it; patience here pays off.
☀️ Step 4: Provide Light and Gradually Acclimate
Once the seedling emerges, move it to a spot with bright, indirect sunlight for the first 2 weeks. Direct sun can scorch tender new leaves. Gradually increase sunlight exposure over 10-14 days until the seedling tolerates 4-6 hours of morning sun. You'll notice the leaves darken and thicken as they adapt.
Water when the top 1 inch of soil feels dry—this prevents overwatering, which is the #1 killer of young seedlings. Use room-temperature water to avoid shocking the roots. Once the seedling reaches 6-8 inches tall, it's ready for its first transplant into a larger pot.
🪴 Step 5: Transplant and Prepare for Outdoor Life
After 3-4 months of indoor growth, transplant the seedling into a 1-gallon pot with fresh potting mix. Choose a pot with drainage holes and place it in a sheltered outdoor spot during the day, bringing it back inside at night if temperatures drop below 50°F. This gradual hardening process takes 2-3 weeks.
You'll know it's ready for permanent outdoor planting when the seedling shows new growth after being outside all day. Plant in late spring, after the last frost, in a location with full sun and well-draining soil. Mulch around the base to retain moisture and protect roots from temperature swings.
Tips & tricks for perfect peach tree growth from seed
These insider secrets will help you maximize your peach tree's potential from the very first pit.
Seed Selection Matters: Choose pits from peaches that ripened on the tree—never from grocery store fruit. Store-bought peaches often come from trees treated with growth inhibitors that can affect germination. Look for plump pits that feel heavy in your hand; these contain the most viable embryos. If you're unsure about a pit's quality, test two or three at once to increase your chances of success.
Stratification Success: During the 90-120 day cold stratification period in Step 2, resist the urge to check on your pit more often than every 2 weeks. Every time you open the bag, you risk introducing moisture fluctuations that can trigger premature sprouting or mold. If you notice any signs of mold (fuzzy spots or discoloration), discard that pit immediately and start fresh with another. The refrigerator's crisper drawer maintains the most consistent 35-40°F temperature range for reliable results.
Germination Timing: While germination typically occurs within 2-4 weeks after planting in Step 3, some seeds may take up to 8 weeks—especially if they didn't receive perfect stratification conditions. If you don't see sprouts after 8 weeks, gently remove the pit and check for signs of life. You might need to restart the process with a fresh pit. Once you do see a sprout, keep the soil consistently moist (not soggy) and maintain that warm 65-75°F environment for optimal growth.
Hardening Process: The 2-3 week hardening process in Step 5 is crucial for preparing your seedling for outdoor life. Start by placing the pot outside during daylight hours only, then gradually increase the time it spends outside. Watch for signs of stress like wilting or yellowing leaves—these indicate the seedling needs more time to acclimate. A simple trick is to place the pot in a sheltered spot like under a patio cover where it gets dappled sunlight rather than direct exposure.
Pro Tips for Best Way To Grow A Peach Tree From Seed
- These insider secrets will help you maximize your peach tree's potential from the very first pit.
- Seed Selection Matters: Choose pits from peaches that ripened on the tree—never from grocery store fruit. Store-bough...
- Stratification Success: During the 90-120 day cold stratification period in Step 2, resist the urge to check on your ...
Frequently asked questions
Got questions about growing peaches from seed? You’re not alone! Here are answers to the most common queries to help you succeed.
How long does it take for a peach seed to sprout?
A peach seed typically sprouts in 4–12 weeks after cold stratification, depending on temperature and moisture. Once planted in soil, germination can take 1–4 weeks more. Patience is key—some seeds may take longer, especially if they’re older or stored improperly.
Can I grow a peach tree from store-bought peaches?
Yes, but with a caveat! Store-bought peaches are often treated with fungicides or come from hybrid varieties, which may not grow true to the fruit. For better results, use seeds from organic, heirloom, or locally grown peaches—or ask a neighbor with a reliable tree for seeds.
Do I need to cold stratify peach seeds? Why?
Peach seeds require cold stratification (mimicking winter) to break dormancy. Without it, germination rates plummet. The process weakens the seed’s natural inhibitors, signaling it’s time to grow. Skip this step, and you might wait years for sprouts—or never see them at all!
Will my seed-grown peach tree bear fruit like the parent?
Probably not. Seed-grown trees are unpredictable—they may produce small, tart peaches (or none at all) that don’t resemble the parent fruit. For consistent, flavorful peaches, grafting is the gold standard. But if you’re experimenting, enjoy the adventure!
What’s the best time to transplant my young peach seedling?
Transplant seedlings in early spring (after the last frost) or late fall, when temperatures are mild. Avoid extreme heat or cold—roots are delicate! Water thoroughly before and after moving, and choose a sunny spot with well-draining soil to give your tree the best start.
Why did my peach seed rot instead of sprouting?
Overwatering or poor drainage are the usual culprits. Peach seeds need moist but not soggy conditions. If using a damp paper towel method, ensure airflow; for soil, use a mix with perlite or sand. Fungal issues can also strike—sterilize tools and containers to prevent contamination.
Wrapping up and next steps
Growing a peach tree from seed is a rewarding journey that blends patience with the joy of nurturing life from scratch! 🌱 By mastering cold stratification and providing the right care—like proper soil, sunlight, and protection—you’ll give your seed the best shot at thriving.
While it may take time, the sweet (and literal!) fruits of your labor will make every step worthwhile.
Ready to take the next step? Once your seedling grows strong, transplant it carefully and keep an eye out for pests or diseases. And who knows? You might just grow the next heirloom variety in your backyard! 🌳