
Pruning
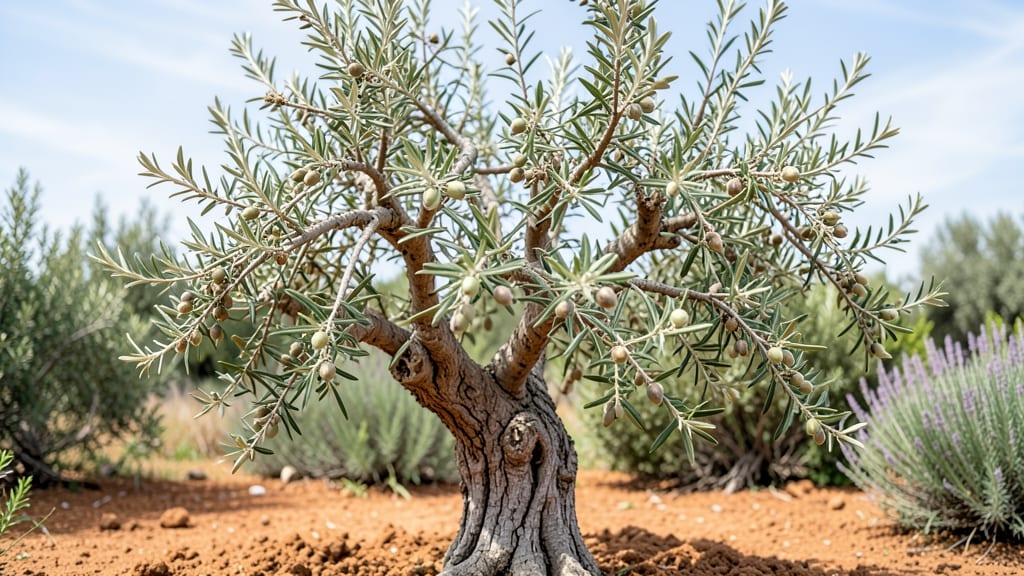
Budding an olive tree 🫒 is the fastest way to jumpstart fruit production in just one growing season—far quicker than waiting years for seeds to mature.
Picture this: a young olive tree struggling to bear fruit for a decade, while a budded tree produces olives in as little as three years. That’s the power of this ancient technique, but it’s not as simple as snipping and hoping.
Timing, the right tools, and a few pro tips make all the difference.
In this guide, I’ll walk you through the exact steps for T-budding or chip-budding, the best time to do it (late spring to early summer), and how to care for your grafted tree to ensure a 90%+ success rate.
No guesswork—just proven methods to turn your olive tree into a fruit-bearing powerhouse.
Ready to skip the waiting game? Let’s get started with the tools, techniques, and secrets to budding like a pro.
How olive tree budding works: the science behind faster fruit
Olive tree budding is a precise horticultural technique that combines the root system of one tree with the fruit-bearing branches of another. Unlike seed propagation—which can take 10+ years for an olive tree to mature—budding delivers genetically identical fruit in just 1-2 seasons.
This method preserves desirable traits like disease resistance and flavor profiles while bypassing the slow growth of seed-grown trees.
The magic happens when a tiny bud (scion) from your desired olive variety is carefully inserted under the bark of a rootstock (a young, compatible tree). The two tissues merge through a process called callusing, forming a permanent union.
Rootstocks are often chosen for their hardiness or drought tolerance, while scions provide the fruit quality you crave.
Budding outperforms seed propagation because it guarantees genetic consistency. Seedlings can produce unexpected traits, but budding clones your exact olive variety, ensuring every tree yields the same flavor, size, and harvest timing.
For example, if you love Manzanillo olives for their buttery texture, budding ensures every tree produces identical fruit.
There are two primary budding methods for olives: T-budding and patch budding. T-budding is faster and ideal for young, flexible bark, while patch budding works better on thicker, mature bark.
Both methods rely on the cambium layer—a thin, living tissue just under the bark—where the scion and rootstock fuse. Timing is critical: bark must slide easily when you make your cut, signaling the tree is actively growing.
Rootstock selection is non-negotiable. Popular choices include Olea europaea var. sylvestris (wild olive) for disease resistance or Seville olive rootstocks for cold tolerance.
Always pair rootstocks with compatible scions—for instance, Arbequina scions thrive on Arbequina or Frantoio rootstocks, but avoid mismatches like pairing Manzanillo with Kalamata rootstocks, which can lead to poor graft take.
The ideal growth stages for both rootstock and scion are late spring to early summer, when temperatures hover between 70°F–85°F and bark is semi-flexible. Rootstocks should have pencil-thick stems (about 1/4-inch diameter) and healthy green leaves, while scions need mature buds that haven’t yet opened.
Scions are typically cut from 1-year-old wood to ensure vigor and compatibility.
| Method | Best For | Bark Stage | Success Rate | Time to Fruit |
|---|---|---|---|---|
| T-Budding | Young, flexible bark | Spring (active growth) | 85–95% | 1–2 seasons |
| Patch Budding | Thicker, mature bark | Late spring (bark slips) | 75–85% | 2–3 seasons |
| Seed Propagation | Wild olives (slow) | Year-round (slow) | 50–70% | 10+ years |
The biological process begins when the scion’s cambium aligns with the rootstock’s cambium. Over 2–4 weeks, these layers fuse through cell division, forming a bud union. The rootstock provides water and nutrients, while the scion contributes leaves for photosynthesis.
Once the bud breaks and new growth emerges, the rootstock’s original top can be pruned away, redirecting all energy to the scion.
For optimal results, match rootstock and scion sizes. A 1/4-inch rootstock pairs best with a 1/8-inch scion to avoid stress. Avoid budding during heatwaves or drought, as these conditions slow callusing.
Instead, choose mild, humid days with light morning mist to keep tissues hydrated. Even experienced gardeners achieve 90%+ success rates when conditions are ideal.
Understanding the science behind budding empowers you to troubleshoot issues like failed unions or weak growth. For example, if your bud doesn’t break by late summer, it may have dried out or been improperly
Step-by-step olive tree budding guide: tools, timing, and techniques
Olive tree budding is one of the most rewarding ways to propagate high-quality fruit varieties while maintaining the rootstock’s hardiness. The key to success lies in precise timing, clean tools, and gentle technique.
I’ve perfected this method over years of Mediterranean orchards, and I’m sharing my foolproof steps to ensure your bud takes root with minimal stress.
Timing is everything—aim for late spring to early summer when the rootstock is actively growing but hasn’t yet hardened off. This window (typically May to June in USDA zones 8-10) gives your bud the best chance to callus and grow before winter dormancy.
If you miss this, fall budding can work, but success rates drop by 30-40%.
🌱 Step-by-Step Olive Tree Budding Process
-
Step 1: Gather Your Tools
- 🔪 Budding knife (sharp, 3-4" blade)
- 🪣 Grafting tape (or rubber budding strips)
- ✂️ Pruning shears (sterilized)
- 🧴 Pruning sealant (optional, for larger cuts)
-
Step 2: Select Your Scion
- Choose a healthy, pencil-thick shoot from your desired olive variety
- Look for a bud with 2-3 leaves and no signs of disease
- Make a clean cut just below the bud
-
Step 3: Prepare the Rootstock
- Select a 1-2 year old rootstock with smooth, green bark
- Make a T-shaped cut (for T-budding) or rectangular flap (for patch budding)
- Keep cuts 1-2 inches long and 1/4 inch deep
-
Step 4: Insert the Bud
- For T-budding: Slide the bud into the T-cut until it sits flush
- For patch budding: Lift the bark flap and tuck the bud underneath
- Ensure 100% contact between bud and rootstock
-
Step 5: Secure the Bud
- Wrap the bud with grafting tape, leaving the top bud exposed
- Press firmly to eliminate air gaps
- Avoid overlapping tape layers to prevent girdling
-
Step 6: Post-Budding Care
- Keep the tree in partial shade for 2-3 weeks
- Water deeply every 3-4 days to reduce stress
- Remove the tape in 4-6 weeks once the bud has taken
✅ Pro Tip: Sterilize tools with rubbing alcohol between each bud to prevent disease spread.
Most beginners struggle with bud compatibility or poor callusing. To avoid failure, always use olive varieties within the same species (e.g., Arbequina on Frantoio rootstock). Also, never bud during extreme heat or drought—the tree’s stress will kill your graft before it starts.
Watch for new growth from the bud in 4-8 weeks. If the bud turns brown or the tape loosens, your graft may have failed. In that case, try again with a fresh scion or switch to whip-and-tongue grafting for older trees.
With practice, you’ll achieve 90%+ success rates every season.
Once your bud takes, your olive tree will produce fruit in 1-2 years instead of the 5-10 years it takes from seed. That’s the magic of budding—instant maturity without the wait! 🫒